 Marco Russo & Alberto Ferrari
In Power BI and Analysis Services, a user may be a member of one or more security roles. These roles determine data visibility, making some of the data accessible and some not, based on the assigned roles. Power BI returns the current username by utilizing functions like USERNAME and USERPRINCIPALNAME. Yet, a gap persists, as there are no built-in features to identify the active security roles of the current user running a report.
Security roles automatically restrict the data visible in a Tabular model. However, for a more personalized user experience, report authors may desire to further customize elements of the report. Examples may include changing the colors of visuals or adding and modifying report information, all based on the active security roles.
This article explores how to display active security roles in card visuals. We will also outline how to implement a measure to determine if the current user belongs to a specific security role, and provide more tools for customizing the user experience based on active security roles.
Creating a security roles table
To get the list of active roles, for each role we apply a security filter on a table that has one row for each security role. The column contains just the role name. We call the table Roles and the column Role. We can create the table as a calculated table, but we could also import it from an external source. Later in the article, we will see how to generate all the required artifacts using a C# script in Tabular Editor. The table will be a hidden, disconnected table in the model.
For example, in the sample model, we have five security roles: Legal, Marketing, Operations, Production, and Sales. The Roles table can also have an additional row (Admin) we use to identify when a user is accessing the model as an administrator – this could be important to display information on the report because the administrator is not subject to any security restrictions. We can create the Roles table by using the following DAX expression for a calculated table:
Roles =
SELECTCOLUMNS (
    { "Sales", "Legal", "Marketing", "Operations", "Production", "Admin" },
    "Role", [Value]
)
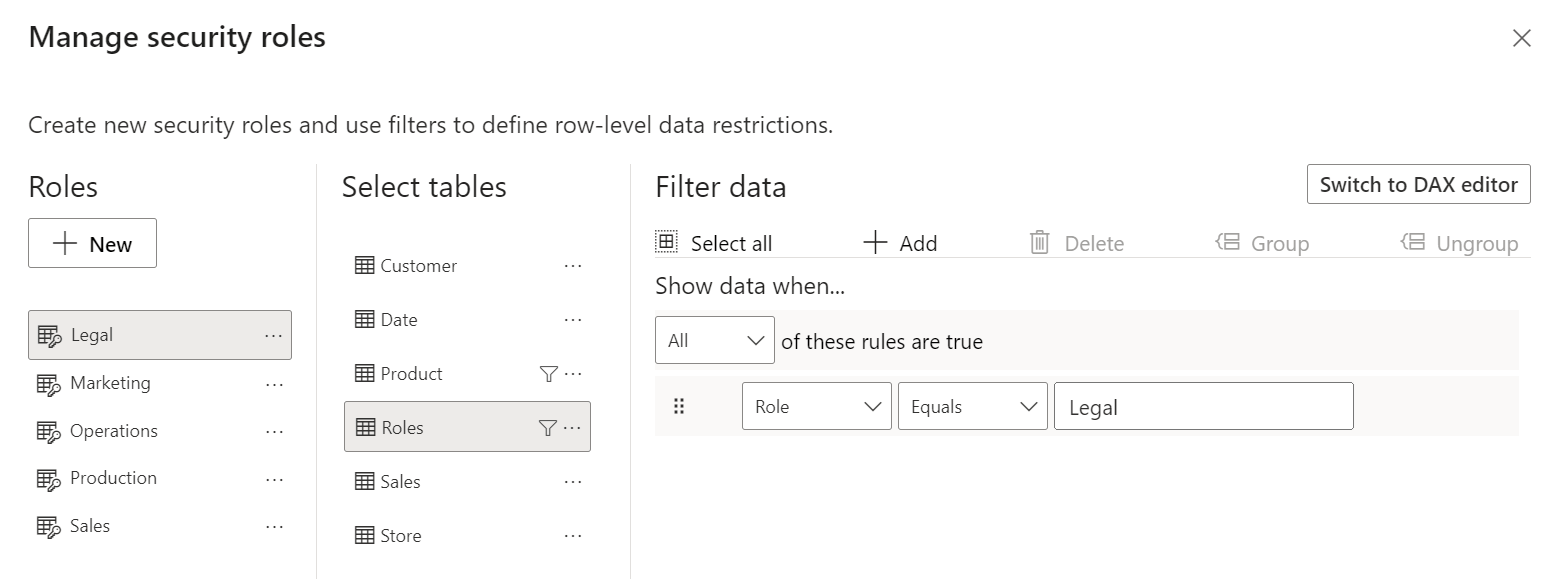
Once the Roles table is defined, we apply a filter condition for each role in the model, limiting the visibility only to the Role column value equal to the security role name. For example, the Legal role filters the Roles table with the condition Roles[Role] == “Legal”.
Obtaining the list of active security roles
If you assume that a user belongs to a single security role, you can use the following Active Role measure to retrieve the active security role:
Active Role :=
SELECTEDVALUE ( Roles[Role] )
However, if the current username has more than one security role active, the result of Active Role will always be blank. For this reason, if the goal is to display the active security roles in a report, it is better to rely on the following Active Roles measure, which displays a list of the active roles:
Active Roles :=
CONCATENATEX (
    VALUES ( Roles[Role] ),
    Roles[Role],
    ", "
)
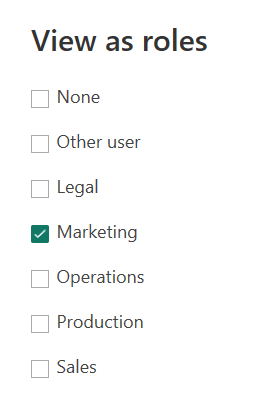
Using the View As features in the Modeling / Security ribbon of Power BI, we can simulate the behavior of a user belonging to one or more roles. For example, we start with a single role, Marketing.
In this case, the two measures return the same result.

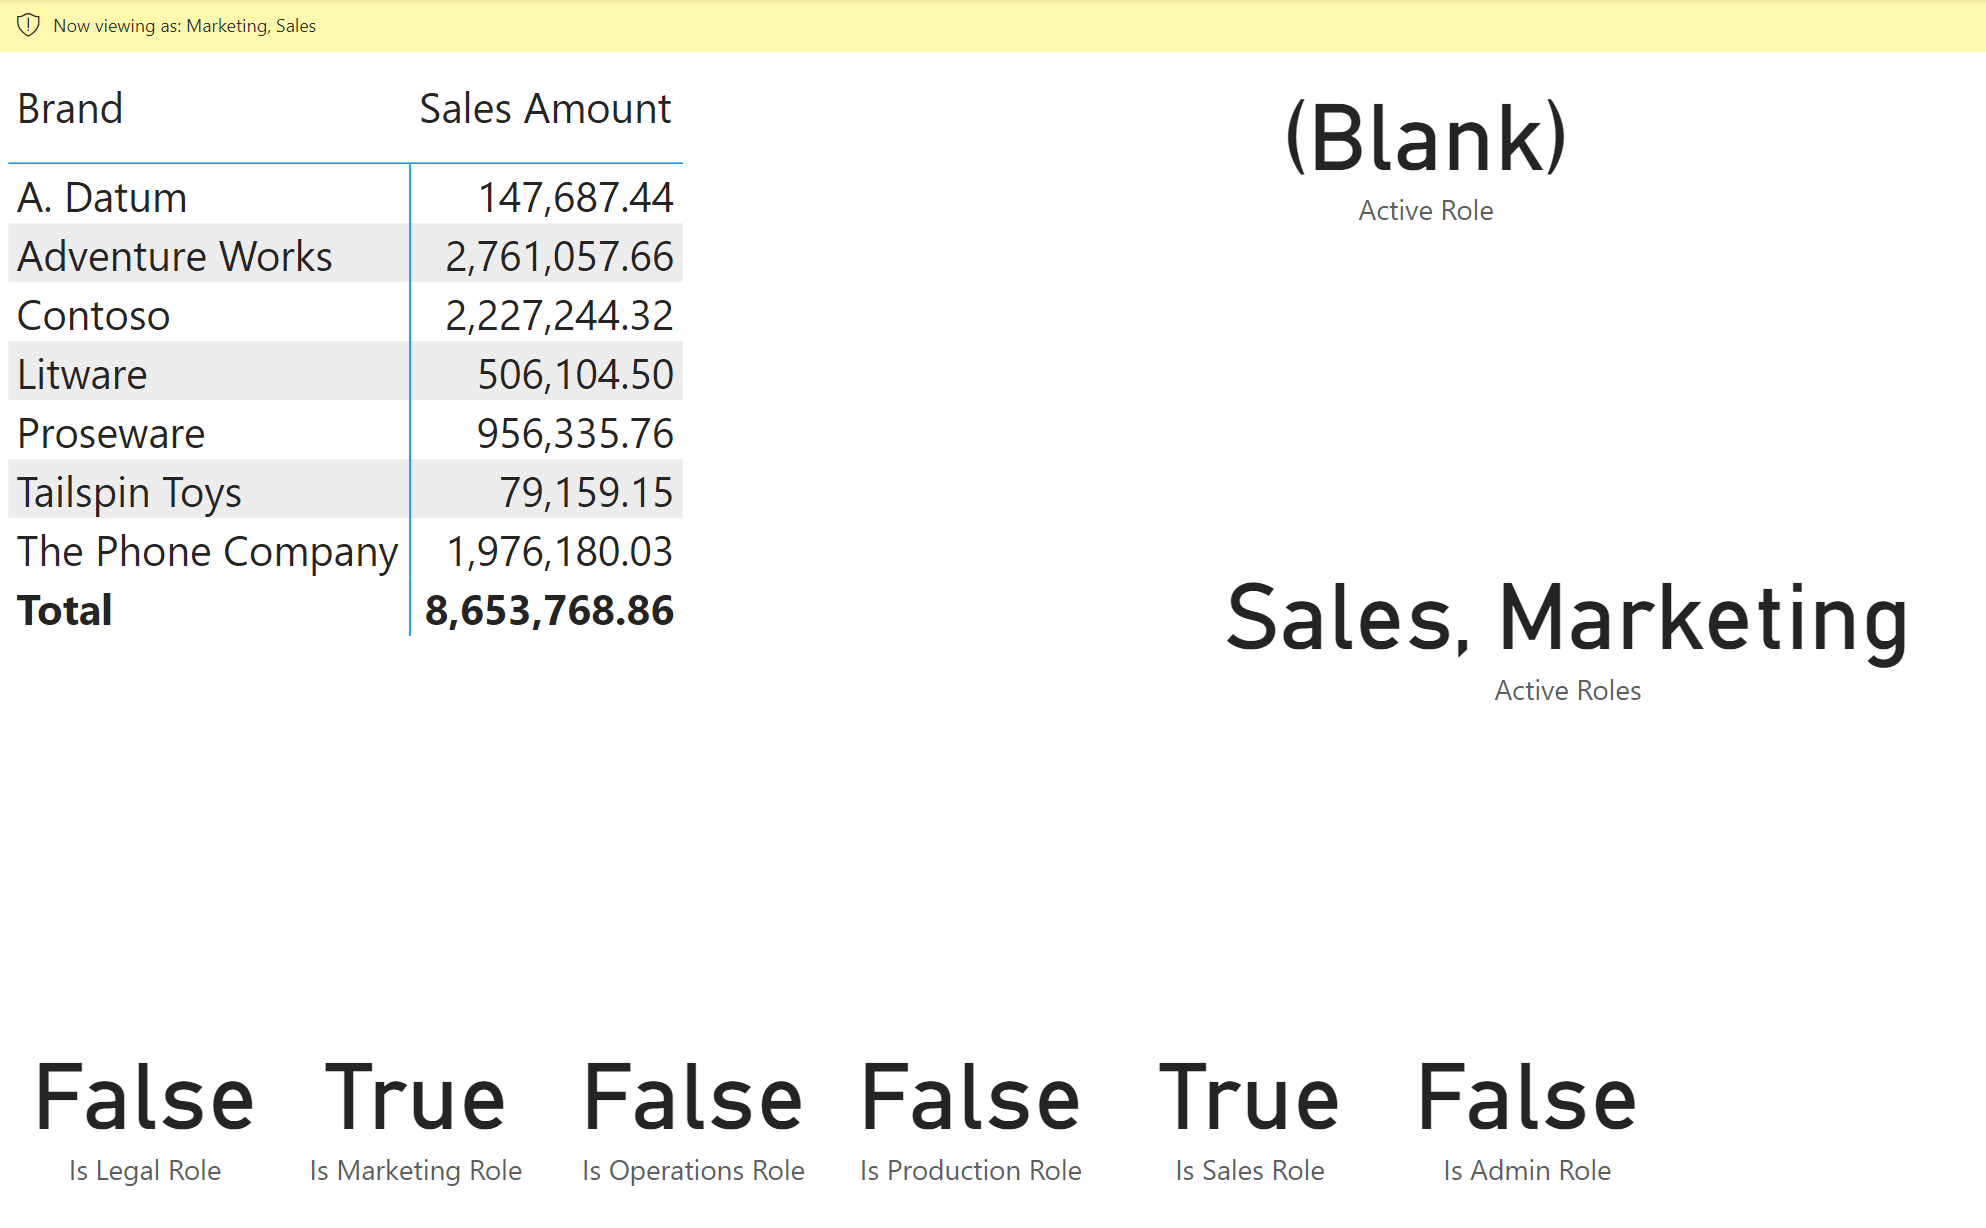
If we enable two roles for the current user (Sales and Marketing), we see that Active Role returns blank, whereas the Active Roles measure returns a string with both Sales and Marketing.

Testing a security role
Because a user can belong to many security roles, whenever possible, it is better to just test whether a particular security role is active or not. Do not rely on CONTAINSSTRING over the result of Active Roles, because it might be slow and inaccurate in the case of role names being similar. In that case, it is better to rely on the following DAX code to test a single security role:
Is Marketing Role :=
"Marketing" IN VALUES ( Roles[Role] )
Because Admin is a string we added to Roles without there being any security role with that name, that row is visible only when security roles are not applied – which happens only when the user is an administrator. We can test whether a user is an Admin by checking the presence of that name in the filter context for Roles[Role]:
Is Admin Role :=
"Admin" IN VALUES ( Roles[Role] )
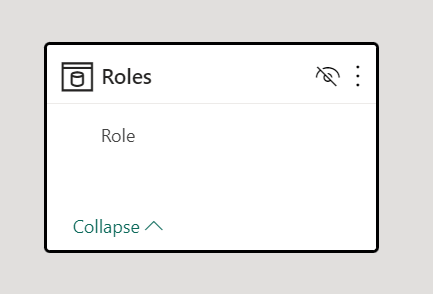
We created a page in the sample file with one card visual for each security role.
To test the presence of security roles in measures or calculation groups, you should use DAX code that tests one or more of the corresponding Is … Role measures defined. For example, the following Secured Sales measure raises an error if the security is inactive. Hence, during security tests, you get a clear error when you do not use the proper user to validate the results:
Secured Sales :=
IF (
    [Is Admin Role],
    ERROR ( "Security not applied for administrators" ),
    [Sales Amount]
)
Scripting the code for Tabular Editor
Because the technique described does not depend on other data in the model, we created a C# script for Tabular Editor that automatically creates the Roles table and the measures described in this article. The sample file includes two scripts, one for Tabular Editor 2 and one for Tabular Editor 3 (TE3): the only difference is that the TE3 version uses a more recent C# syntax to manipulate strings.
To use the script, open the .csx file in Tabular Editor and run it once, then apply the changes to the model and refresh the calculated table in Power BI to ensure the content is valid. You can customize the first lines of the code by modifying the constant strings if you want to generate different names for tables and measures:
// Define the table and column name for the list of roles
const string roleTableName = "Roles";
const string roleColumnName = "Role";
const string adminName = "Admin";

const string measureIsPrefix = "Is ";
const string measureIsSuffix = "";
const string activeRoleMeasureName = "Active Role";
const string activeRolesMeasureName = "Active Roles";


// Stop if there are no roles
if (Model.Roles.Count < 1) {
    throw new Exception( "No roles defined in the model");
}

// Create list of role names + Admin
var roleNames = Model.Roles.Select( r => r.Name ).ToList();
if (!string.IsNullOrWhiteSpace(adminName)) {
    if (roleNames.Contains(adminName)) {
        throw new Exception( "Role {adminName} is in conflict with the special adminName constant.");
    }
    roleNames.Add(adminName);
}

// Create the table with the roles if it doesn't exist, or update the DAX code if it exists
string listRoleNames = roleNames.Skip(1).Aggregate("\"" + roleNames[0] + "\"", (current, r) => current + ", \"" + r + "\"");
string roleTableDax = "SELECTCOLUMNS ( { " + listRoleNames + " }, \"" + roleColumnName + "\", [Value] )";
var roleTable = Model.Tables.FindByName(roleTableName);
if (roleTable == null) {
    roleTable = Model.AddCalculatedTable(roleTableName,roleTableDax);
}
else {
    (roleTable as CalculatedTable).Expression = roleTableDax;
}

// Apply security to existing roles
foreach ( var role in Model.Roles ) {
    role.RowLevelSecurity[roleTable] = roleTableName + "[" + roleColumnName + "] == \"" + role.Name + "\"";
}

// Create measures to test active roles + Admin
foreach ( var roleName in roleNames ) {
    string measureName = measureIsPrefix + roleName + " " + roleColumnName + measureIsSuffix;
    string measureDax = "\"" + roleName + "\" IN VALUES ( " + roleTableName + "[" + roleColumnName + "] )";
    var measure = roleTable.Measures.FindByName(measureName) ?? roleTable.AddMeasure( measureName, measureDax );
    measure.IsHidden = true;
}

// Create measures for Active Role and Active Roles
string activeRoleMeasureDax = "SELECTEDVALUE ( " + roleTableName + "[" + roleColumnName + "] )";
var measureActiveRole = roleTable.Measures.FindByName(activeRoleMeasureName) ?? roleTable.AddMeasure( activeRoleMeasureName, activeRoleMeasureDax );
string activeRolesMeasureDax = "CONCATENATEX ( VALUES ( " + roleTableName + "[" + roleColumnName + "] ), " + roleTableName + "[" + roleColumnName + "], \", \" )";
var measureActiveRoles = roleTable.Measures.FindByName(activeRolesMeasureName) ?? roleTable.AddMeasure( activeRolesMeasureName, activeRolesMeasureDax );

// Hide table and active role measures - comment or change if they should be visible
roleTable.IsHidden = true;
measureActiveRole.IsHidden = true;
measureActiveRoles.IsHidden = true;
Conclusions and credits
This article described how to retrieve the list of the active security roles for the connected user and how to create measures to test whether a specific security role is active or not.
The idea for this article was suggested by David Bojsen. He implemented this technique for a specific customer requirement to allow report customizations based on security roles rather than on individual user names. While data security should be based on the result of security roles without any intervention the reporting layer, the need to customize the report layout based on security requirements may produce multiple versions of the same report just to provide a better user experience to different audiences.
As of June 2023, Power BI does not provide a direct way to hide a visual based on dynamic conditions, but different workarounds are already available (such as using a transparent color dynamically). Hopefully, there will be more features in the future to simplify the report customization based on dynamic expressions.
Returns the domain name and user name of the current connection with the format of domain-name\user-name.
USERNAME ( )
Returns the user principal name.
USERPRINCIPALNAME ( )
Returns TRUE if one text string contains another text string. CONTAINSSTRING is not case-sensitive, but it is accent-sensitive.
CONTAINSSTRING ( <WithinText>, <FindText> )